Starting Seeds in a Greenhouse
Get a head start on your growing season with expert tips for successful seed starting in your greenhouse. Learn about soil preparation, environmental controls, and seedling care for maximum germination success.
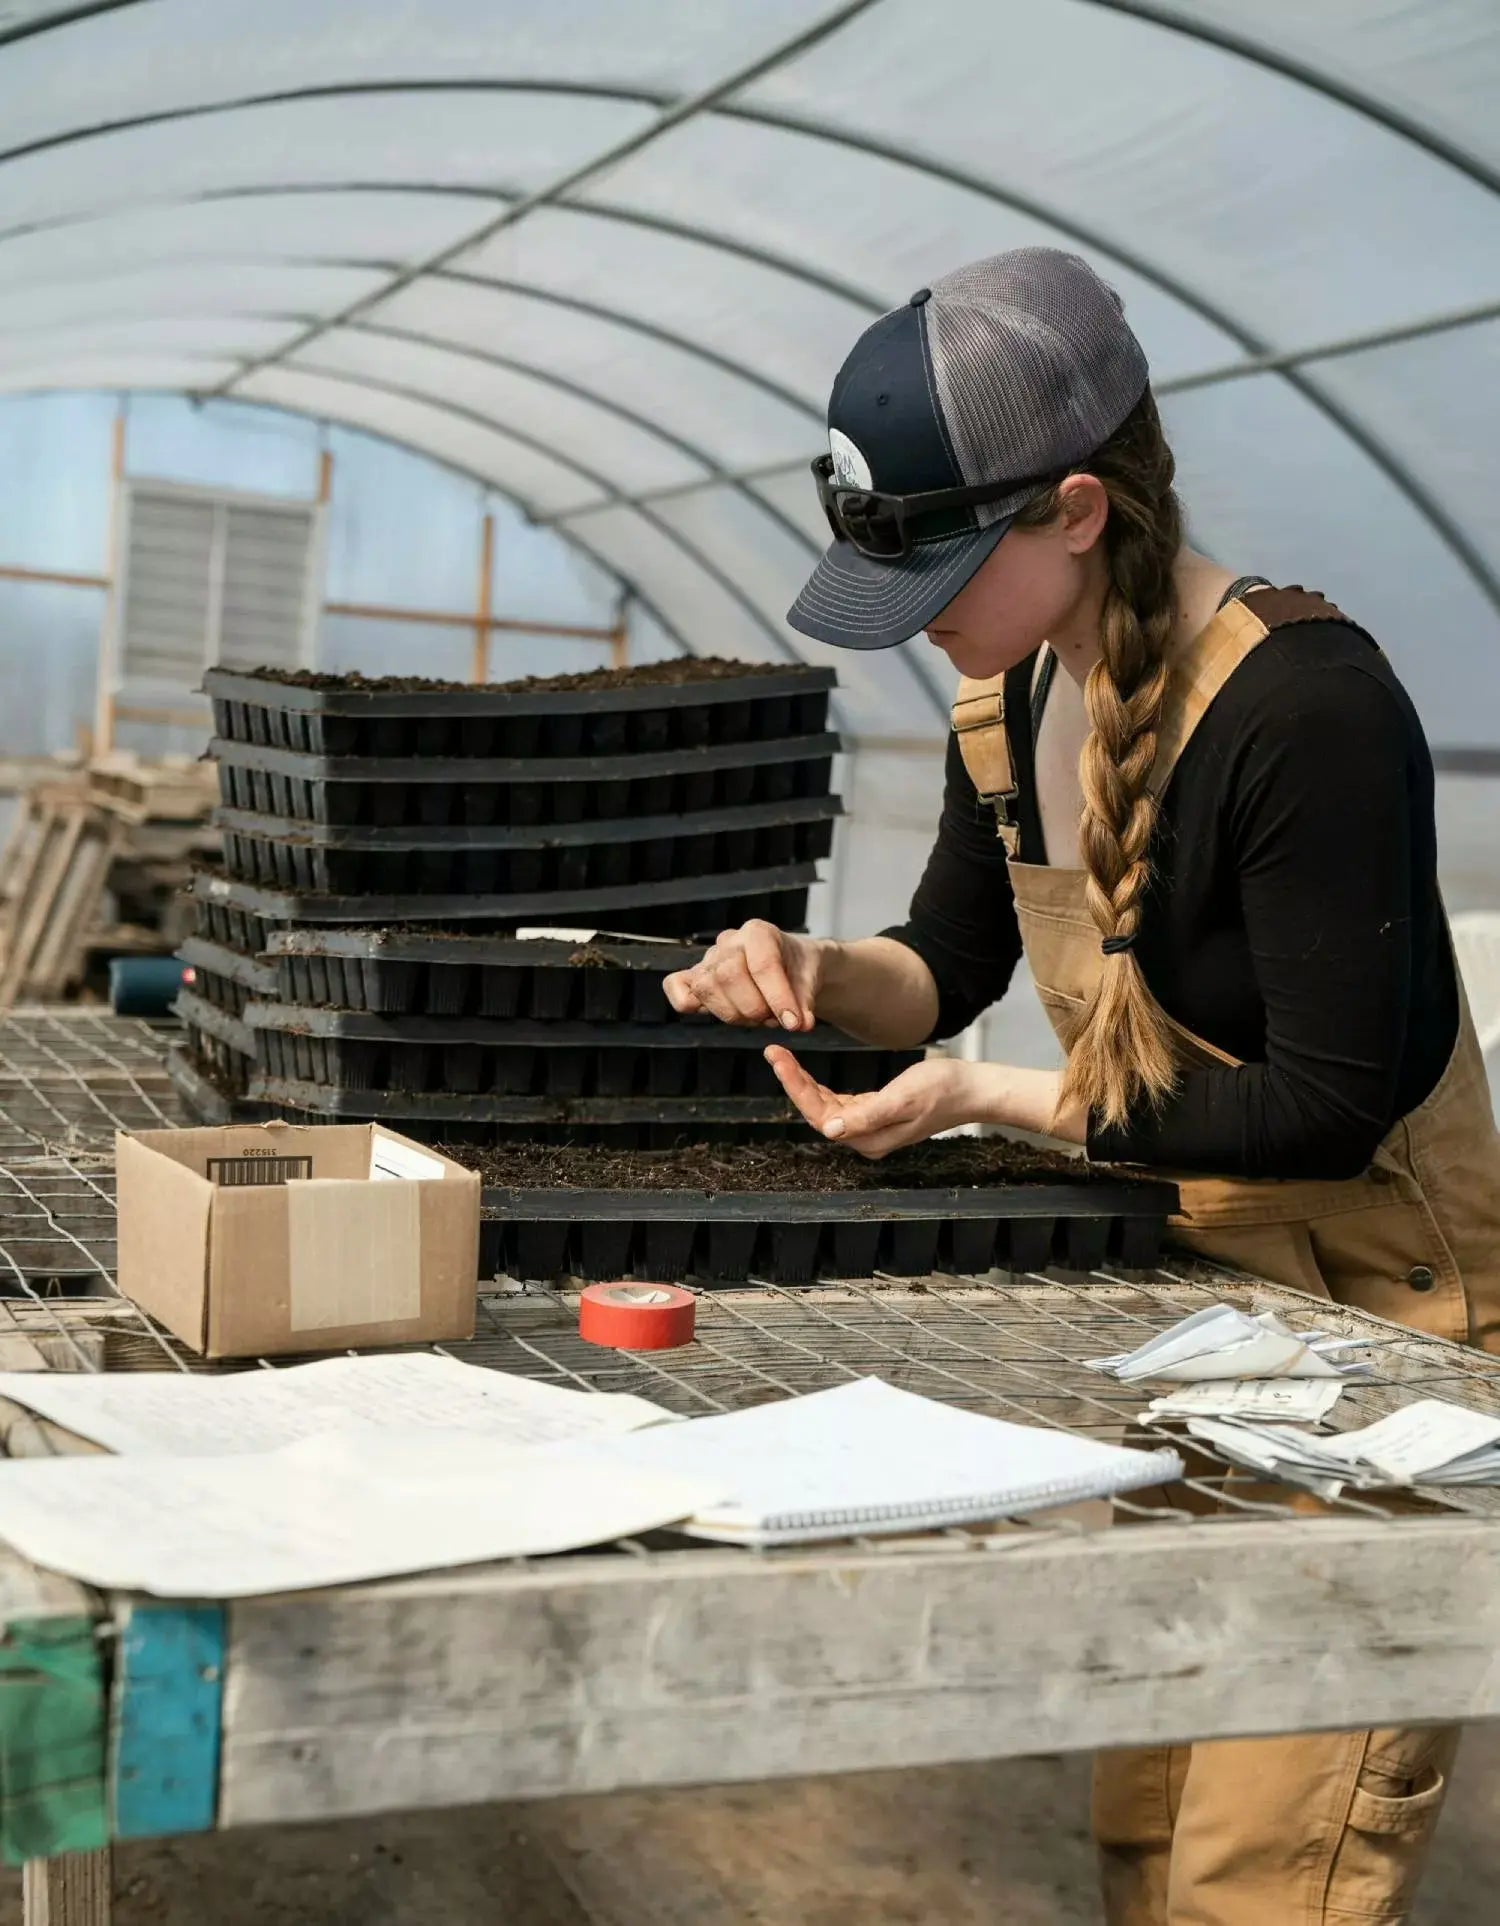
Spring is one of the most exciting times for a gardener. One of the best parts is seeing little seedlings emerge from the dirt. Starting seeds in a greenhouse is an excellent way to get a head start on the growing season and get to the gardening fun faster. The greenhouse also provides a controlled environment for young plants to get their best start.
Gathering Supplies and Preparation
Start by gathering your supplies and preparing the seed starting mix. Decide what type of pots or trays you'll use. Select something that provides adequate drainage. It may be important to keep the soil warm depending on what you're growing. Trays with a plastic lid are an excellent way to keep heat in. Propagation mats can also provide bottom heat to help germination.
Choosing the Right Containers
Container selection impacts both germination success and transplant ease:
- Seed trays: Ideal for starting multiple varieties efficiently
- Cell packs: Perfect for individual seedling development
- Peat pots: Biodegradable options that transplant directly
- Plastic containers: Reusable and cost-effective choice
Selecting Quality Seed Starting Mix
Use a seed starting mix that is high quality and sterile. Some store-bought mixes can come with unintended larvae mixed in the soil, which can cause a pest problem in your greenhouse in the future. In addition to being sterile, lightweight and well-draining soil is best. Make sure you know if your soil has properties such as moisture control. Properties like moisture control will affect how often you water the seeds.
Key Properties of Quality Seed Mix
- Sterile composition: Free from harmful bacteria and fungi
- Fine texture: Allows small seeds to make good soil contact
- Excellent drainage: Prevents waterlogging and root rot
- Nutrient balance: Provides gentle nutrition for early growth
- pH balanced: Typically between 6.0-7.0 for most seeds
Avoid Garden Soil
Never use garden soil for seed starting, as it's too heavy and may contain pathogens that can harm delicate seedlings. Stick to sterile, lightweight seed starting mixes specifically formulated for germination.
Planting Your Seeds
Mix a small amount of water into the seed starting mix until it's evenly damp but not soggy. Fill your pots or trays with the mix, leaving a small gap at the top for easy watering. Follow instructions on seed packages for planting depth and spacing. Once the seeds are planted, cover them lightly with more mix. Be sure to label the trays with the name of the plant and the date sown. Labeling will help keep track of your seedlings as they grow.
Proper Planting Technique
Follow these guidelines for optimal seed placement:
- Planting depth: Generally 2-3 times the seed diameter
- Seed spacing: Allow adequate room for seedling development
- Soil contact: Ensure seeds have good contact with moist soil
- Light coverage: Fine seeds may only need light soil dusting
Labeling Best Practices
Use waterproof labels with permanent markers. Include variety name, planting date, and expected germination time. This information becomes invaluable as you track seedling progress.
Creating Optimal Growing Conditions
During the germination period, you want to provide the right environment for the plants to thrive, which includes temperature, light, and moisture. Place the trays or pots in a well-lit area of the greenhouse. You may need to add a full spectrum grow light if there isn't enough sunlight throughout the day. Monitor conditions such as temperature and humidity in the greenhouse to ensure they are suitable for seed germination.
Temperature Control
Most seeds germinate best within specific temperature ranges:
- Cool season crops: 60-70°F (15-21°C)
- Warm season crops: 70-80°F (21-27°C)
- Heat-loving plants: 80-85°F (27-29°C)
- Nighttime temperatures: Can drop 5-10°F lower
Lighting Requirements
Adequate lighting ensures strong, healthy seedling development:
- Duration: 14-16 hours daily for most seedlings
- Intensity: Full spectrum LED grow lights work best
- Distance: Keep lights 2-4 inches above seedlings
- Adjustment: Raise lights as seedlings grow taller
It's a good idea to install a thermometer and humidity meter in the greenhouse to assess the environment inside the greenhouse accurately. A space heater may also be necessary to maintain the internal temperature of the greenhouse.
Environmental Factor Optimal Range Monitoring Tool Adjustment Method
Temperature: 65-75°F (18-24°C) — Digital thermometer — Heating mats, space heater Humidity: 50-70% — Hygrometer — Ventilation, water trays Light: 14-16 hours daily — Light meter — Grow lights, timers Air circulation: Gentle, consistent — Visual observation — Small fans, vents
Ongoing Seedling Care
Keep a close eye on the seedlings as they germinate and grow. Water regularly to keep the soil moist but prevent over-watering. Also, provide adequate ventilation to prevent fungal diseases. Ventilation can be accomplished by running a small fan or opening the roof vents and windows during the day if the temperatures allow.
Watering Best Practices
Proper watering technique is critical for seedling health:
- Bottom watering: Place trays in shallow water for even moisture
- Misting: Use fine spray for delicate, newly emerged seedlings
- Consistency: Keep soil evenly moist but never waterlogged
- Water quality: Use room temperature, chlorine-free water when possible
Avoid Overwatering
Overwatering is one of the most common causes of seedling failure. Soggy soil leads to root rot and fungal diseases. Always check soil moisture before watering and ensure proper drainage.
Disease Prevention
Maintain healthy growing conditions to prevent common seedling problems:
- Air circulation: Use fans to prevent stagnant air
- Proper spacing: Avoid overcrowding seedlings
- Sanitation: Keep tools and surfaces clean
- Environmental control: Monitor temperature and humidity closely
Hardening Off Process
As the plants develop several true leaves, begin hardening off the seedlings. This is done by gradually exposing them to outdoor conditions to acclimate them to the environment. Hardening off will help them adjust to direct sunlight and fluctuating temperatures and become stronger as they adapt to outdoor air movement.
Hardening Off Schedule
Follow this gradual transition process over 7-10 days:
- Days 1-2: 2-3 hours outdoors in shade
- Days 3-4: 4-6 hours with morning sun exposure
- Days 5-6: Full day outdoors, bring in at night
- Days 7-10: Leave out overnight if temperatures permit
Signs Your Seedlings Are Ready
Look for strong stems, well-developed root systems, and at least 2-3 sets of true leaves before beginning the hardening off process. Avoid transplanting during extreme weather conditions.
Following these tips for starting seeds in a greenhouse can give your seedlings a healthy head start and get you gardening sooner in the season. Happy Gardening!
Frequently Asked Questions
When should I start seeds in my greenhouse?
Start seeds 6-8 weeks before your last expected frost date for warm-season crops, and 8-10 weeks for cool-season crops. Check seed packets for specific timing recommendations for each variety.
What temperature should I maintain for seed starting?
Most seeds germinate best between 65-75°F (18-24°C). Cool-season crops prefer the lower end of this range, while warm-season crops thrive at the higher temperatures.
How often should I water my seedlings?
Water when the soil surface feels dry to the touch, typically every 1-3 days depending on temperature and humidity. Keep soil consistently moist but never waterlogged.
Do I need grow lights in my greenhouse?
If your greenhouse doesn't receive 14-16 hours of bright light daily, supplemental grow lights are recommended. LED full-spectrum lights work best for seedling development.
How do I know when seedlings are ready to transplant?
Seedlings are ready when they have 2-3 sets of true leaves, strong stems, and well-developed root systems. They should also be properly hardened off to outdoor conditions.
What's the difference between seed leaves and true leaves?
Seed leaves (cotyledons) are the first leaves to emerge and provide initial nutrition. True leaves develop next and have the characteristic shape of the mature plant. Wait for true leaves before transplanting.
0 comments